However, I’m back and ready to get back into it, starting with a series of posts about my trip to Iceland. I just recently got back from said trip, with a week-long exploration of some of Iceland’s most beautiful sights to see. I’m going to do my best to dedicate each post to a single day, simply because I feel there’s so much to be said, and so many beautiful photos to share, that I don’t want to try to rush anything. I want to give each things its moment to shine.
So, without any further ado, let’s get into it!
Day one of my Iceland trip started in the air, still on the airplane over. My mom and I had caught a redeye, and while my first day was definitely a long one, I would suggest doing something similar– it gives you the whole day to jampack with fun things to do. I was able to catch a few hours sleep on the plane, so it wasn’t terrible.
After landing, getting through customs, and picking up our rental car, we began driving to Fagradalsfjall, home to Geldingdalur Volcano. My itinerary, fashioned specifically for my photography desires, didn’t initially include the volcano. However, after planning the trip, news spread about the new Icelandic eruption, and we knew we had to fit it in.
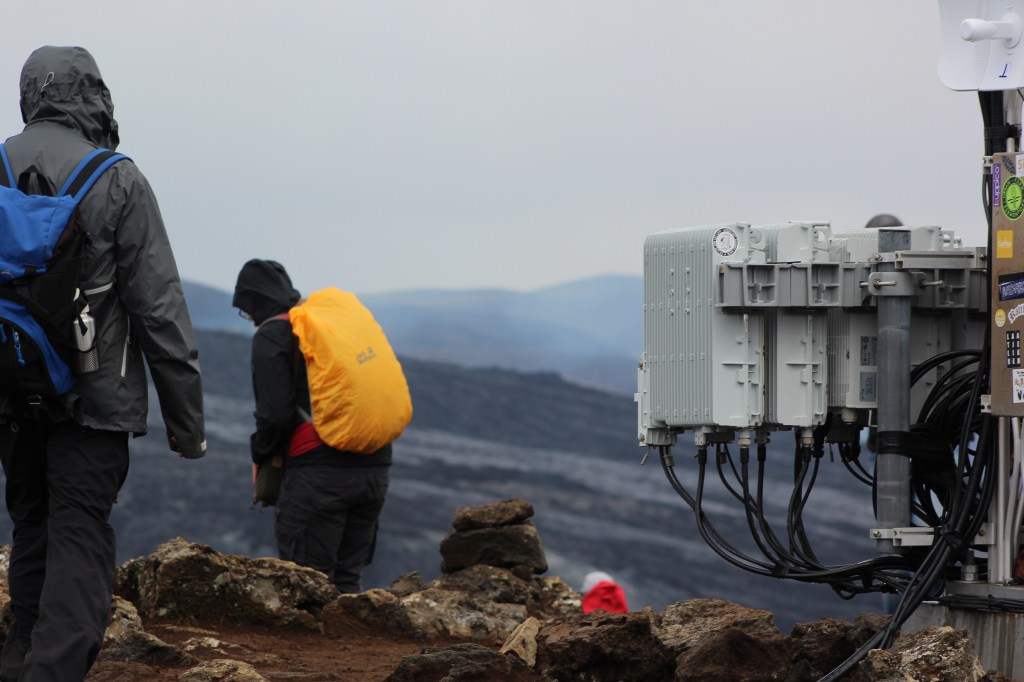
When we arrived at the parking lot (one of three; we went to the one your GPS directs you to, which will park you right next to the beginning of a hike), it was freezing. We knew Icelandic summers would be on the cooler side, but just how cold it could get surprised us. We layered up, packed our bags, and got to hiking.
Layering is definitely important, so make sure to bring light layerable items that you can easily throw on or take off. I took off two of my top layers almost immediately after we began hiking, simply because I had gotten warm enough to not need them anymore from the hike itself.
There are two routes you can take to the volcano site: one takes you over a mountain ridge where you can gaze down into the valley where the volcano is, and the other allows you to walk right beside the cooled lava in the valley. We took the former, and I suggest you do the same; this allows you to hike along the bottom on the way back, which is a little bit of an easier hike in my opinion.
While the volcano wasn’t active at the time, it was still smoking and magma still coming up, shifting and moving around. As we got closer, the hardened black lava of the valley begun turning an orange and red color. We were actually able to get right up against the shifting and cooling lava, which was amazing. There were a lot of people, but you’re still able to get good shots in.

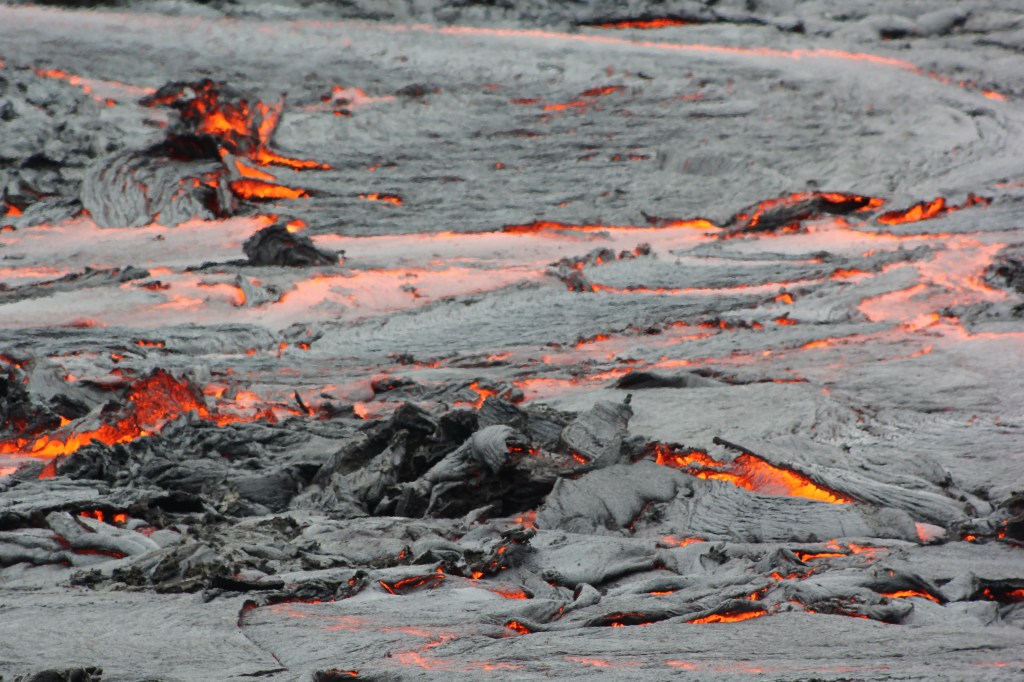

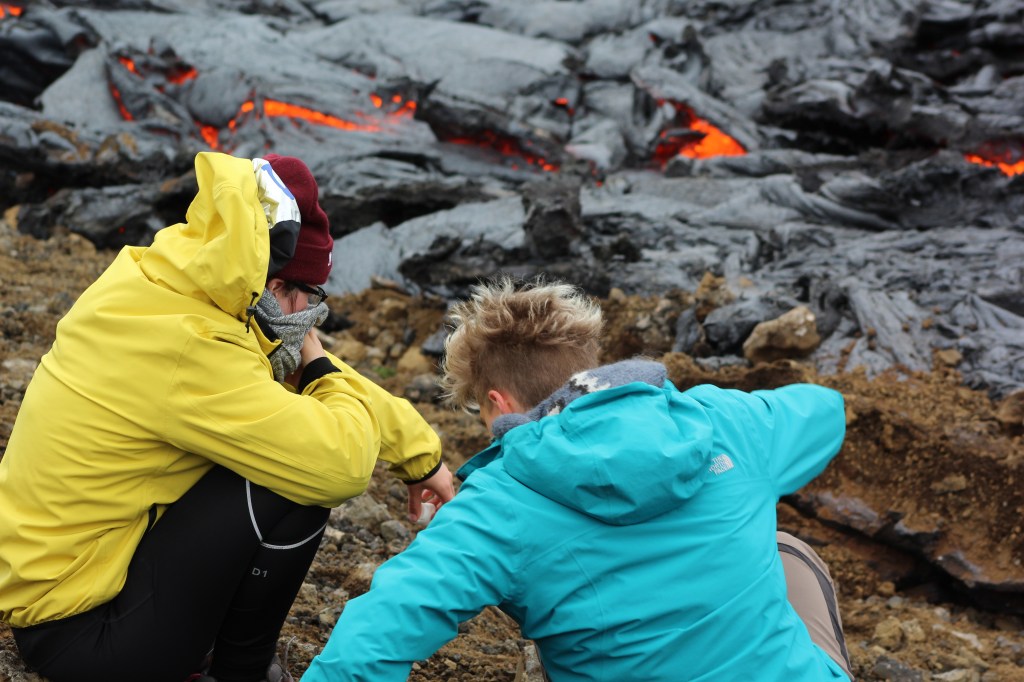
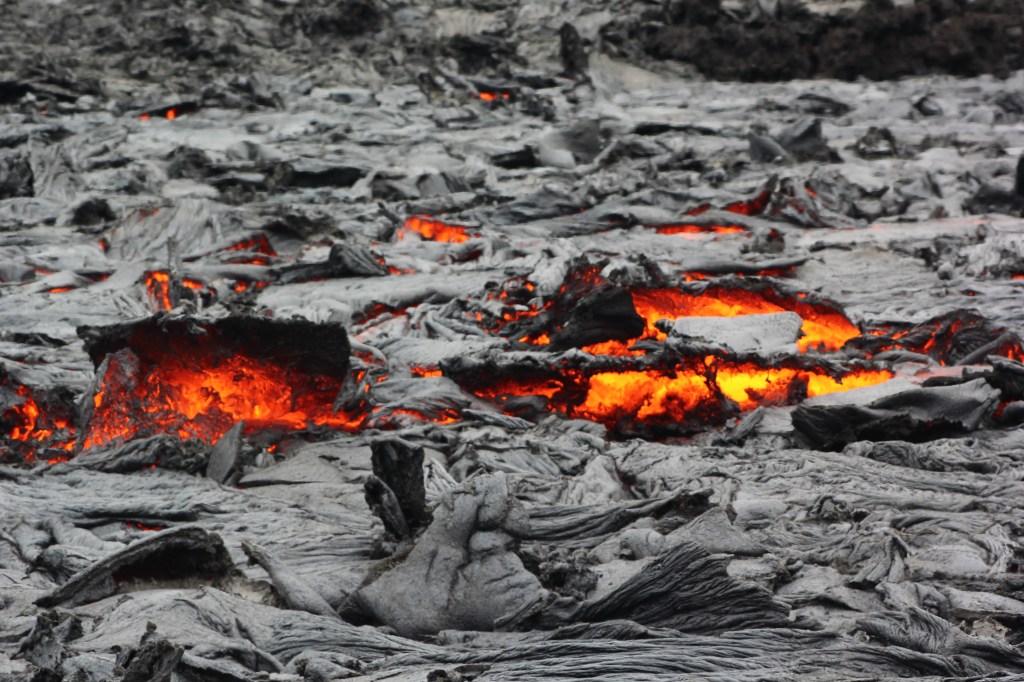
An important safety note! There were a few people taking pictures further down on the cooled lava, standing and climbing the black rock, but this is INCREDIBLY dangerous to do! Not only can the lava rock actually not be totally cooled (very evident from the the spots that are still smoking, but even the parts that aren’t smoking can be not totally cooled), but the lava rock can very fragile in spots, and if you fall you can seriously injure yourself. The rock is very sharp– so feel free to look, but please don’t touch. At least compared to America, there aren’t many ropes or fences barricading the dangerous aspects of a lot of sights, so keep that in mind.
After we got back to the car (about two hours, including the time we took to take some pictures), we headed to Reykjavik, Iceland’s capital. We went out to explore a little bit, get dinner, and then crashed back at our hotel room.
Make sure to check out my instagram, @eac.fotos, for editted Iceland pictures and to keep up with the rest of my photography!
Until next time!
