I recently posted about getting access to Adobe Creative Cloud, and I’ve been messing around with Photoshop and Lightroom to try and figure out how they might benefit my photography. You might also remember a post about a weekly prompt I had for my Visual Arts Club about reflections.
With the use of Photoshop, I added a reflection to the picture I had taken, though I realized after the fact I had missed some existing reflection that made the edits very clear and very nonsensical. However, I wasn’t really that upset, given it was really my first time using Photoshop. For today’s post, I’m going to go over the process I went through to add the reflection to my image. There’s a lot of cool effects you can use on your photos with photoshop applications, and I think reflections are a great one to utilize, especially since the process is actually pretty simple.
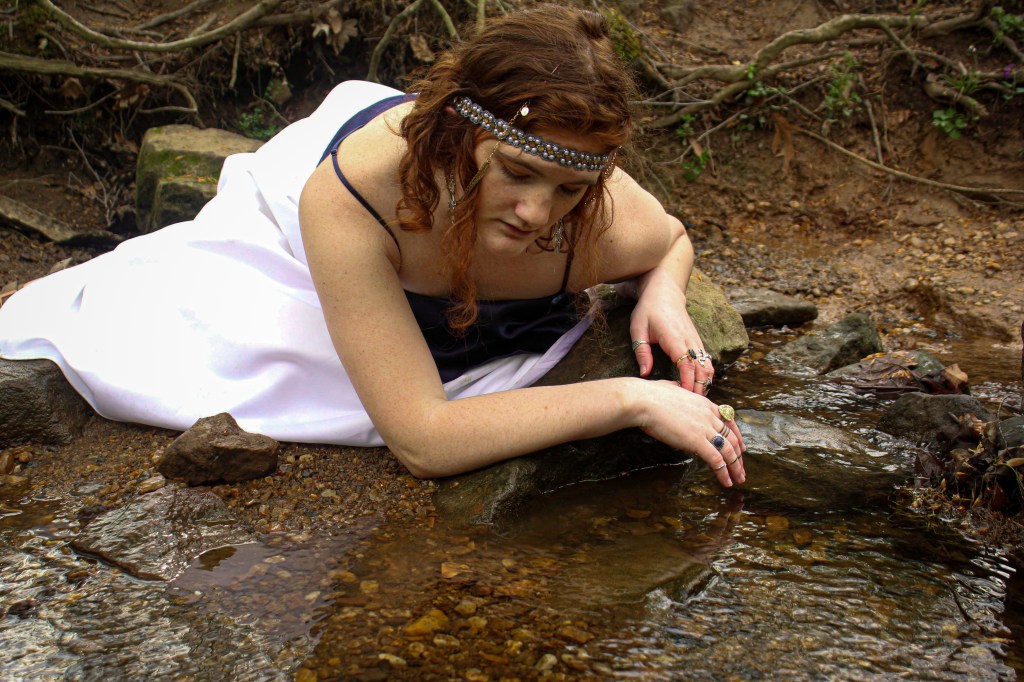
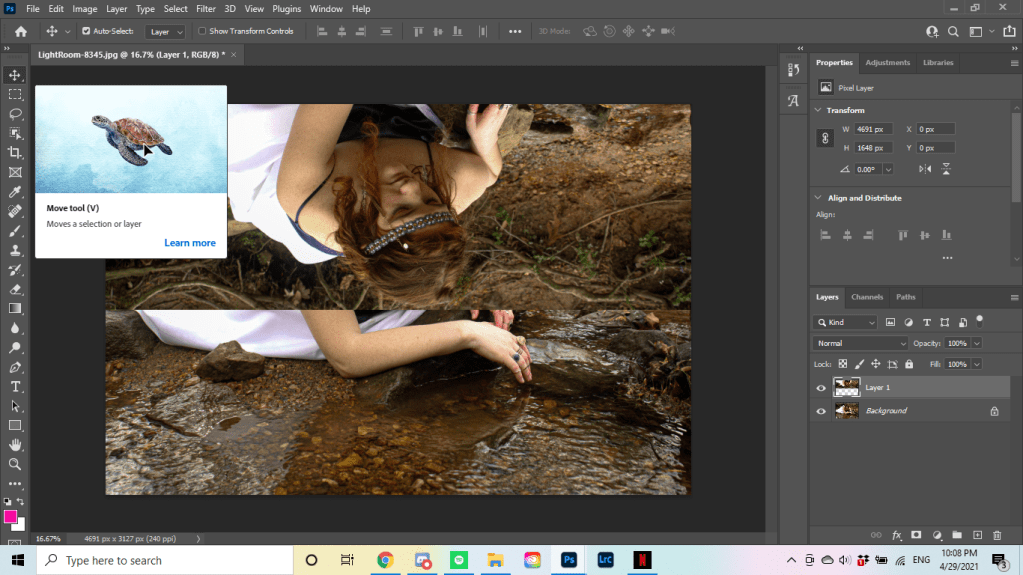
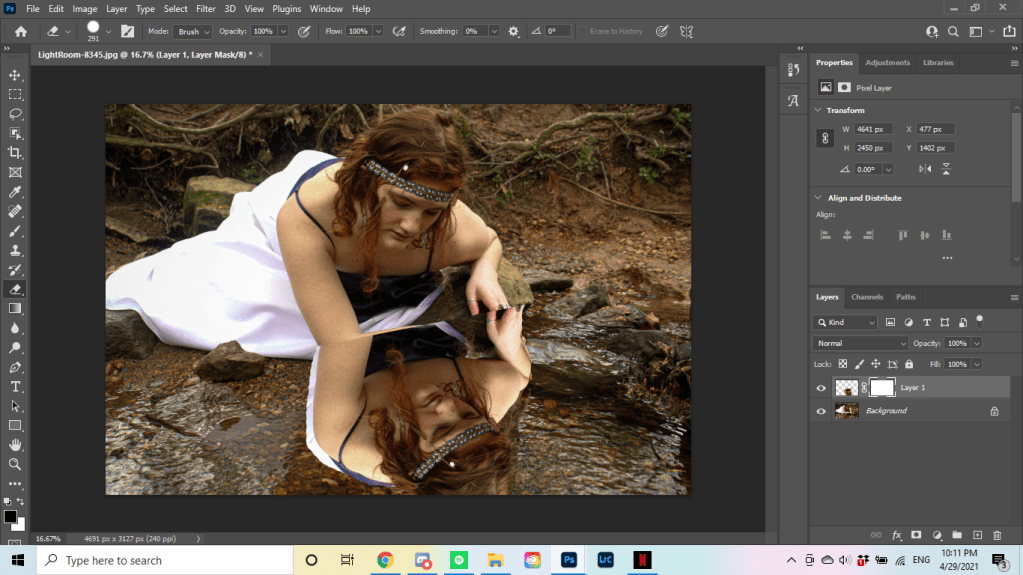
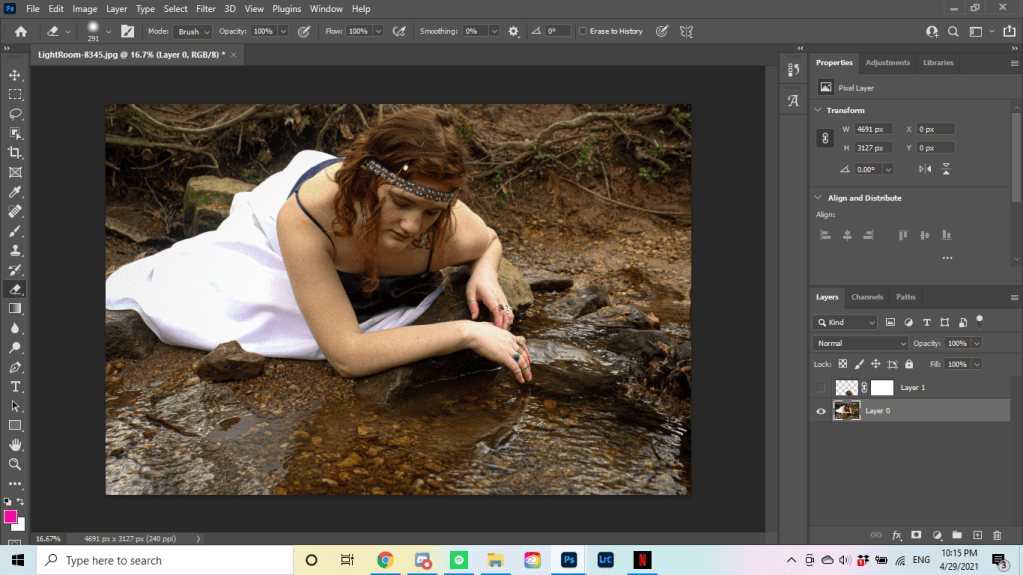
I’ll include screenshots, but here’s the starting image for reference:
The first thing you’ll want to do, of course, is open your image in Photoshop.
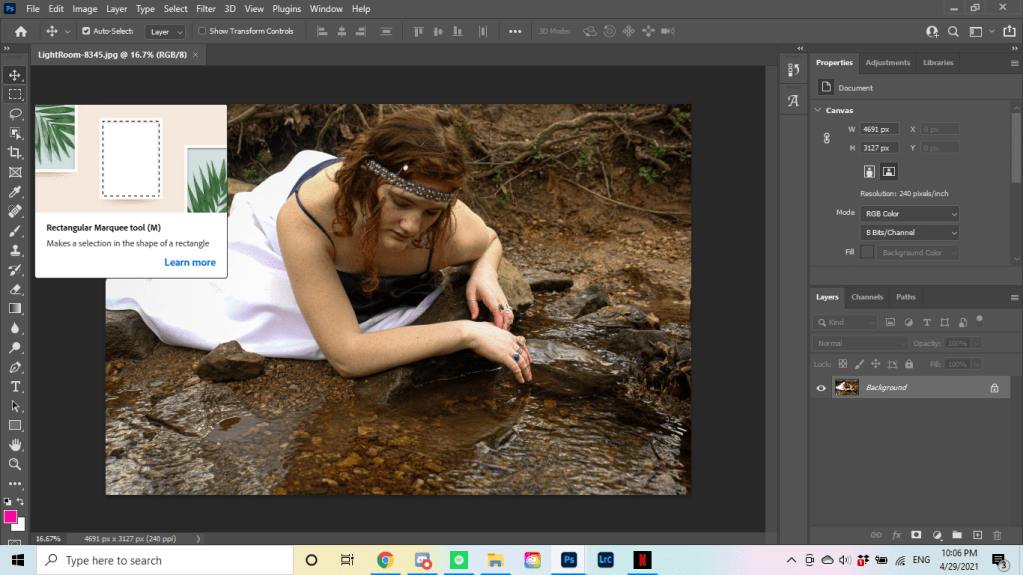
After you do that, find the Rectangular Marquee tool on the side tool bar. The icon looks like a dotted rectangle. This will allow you to select the portion of your photo that you want reflected. I selected the portion that included the face in the picture.

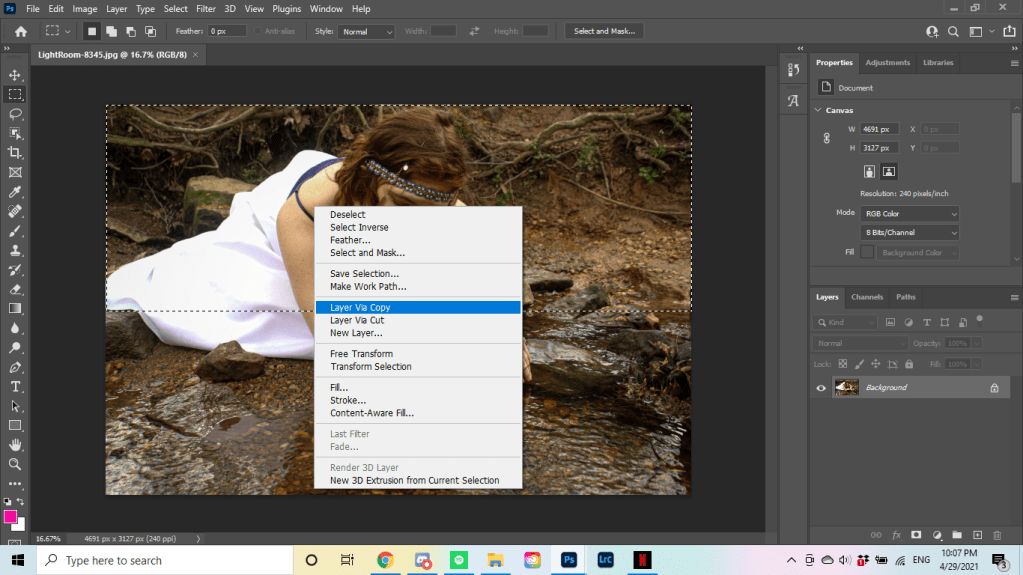
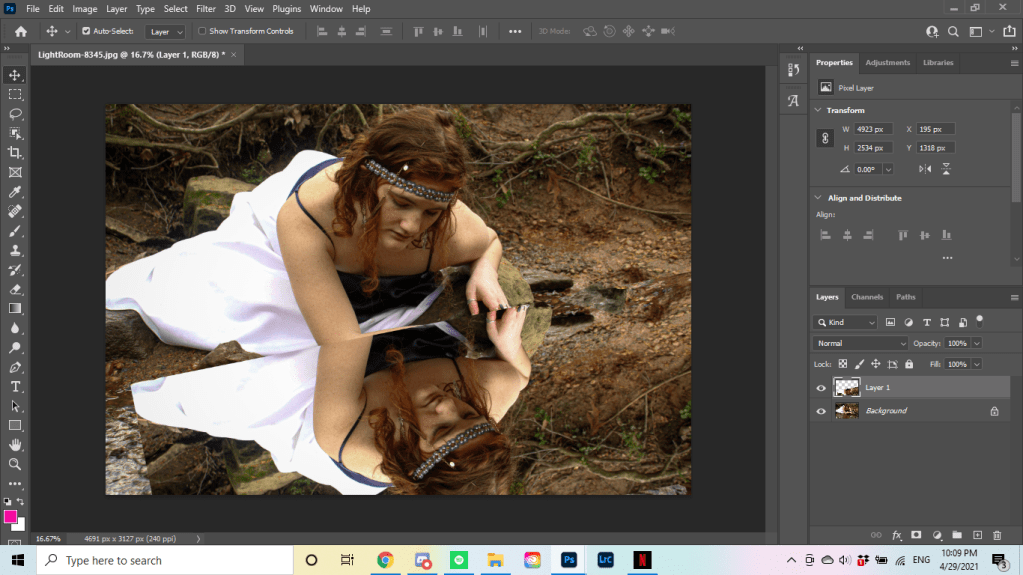
When you’re happy with your selection, right click and select the option that says “Layer Via Copy”. This will create a new layer with the selection you made, while keeping the original image intact. This new layer will automatically be named “Layer 1”, but you can rename it if you like.
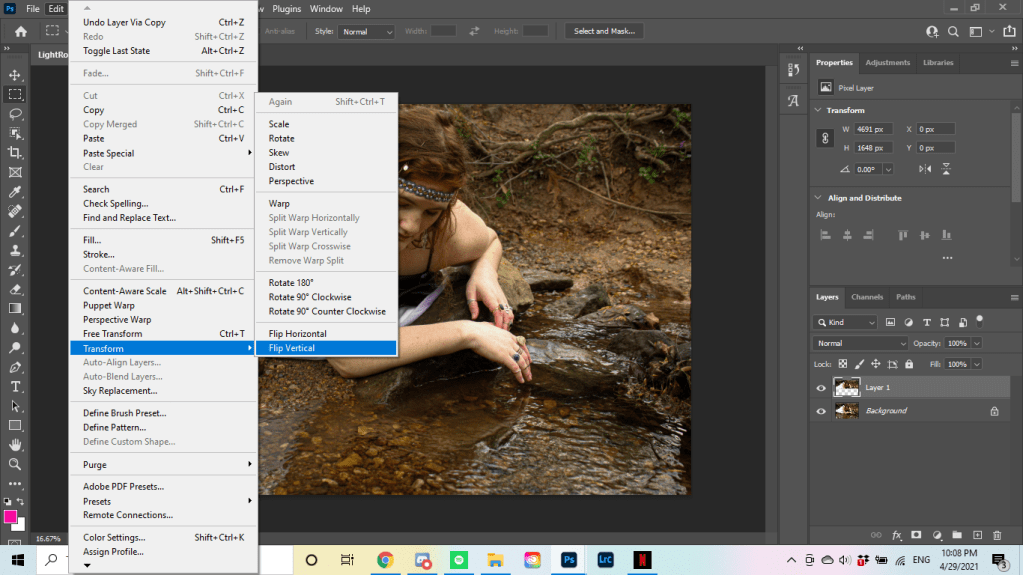
Next, while Layer 1 is selected (which you can tell because “Layer 1” will be highlighted in the bottom right corner rather than “Background”), select Edit from the top tool bar. Go to the “Transform” menu, and select “Flip Vertical”. Then, using the “Move” tool located at the top of the left-side toolbar, you can move your flipped layer into position where you want your reflection to go. I also took the time to rotate the layer into the position I want, which can be done by going to Edit > Transform > Rotate. If you don’t need to rotate your reflection, you can skip that part.
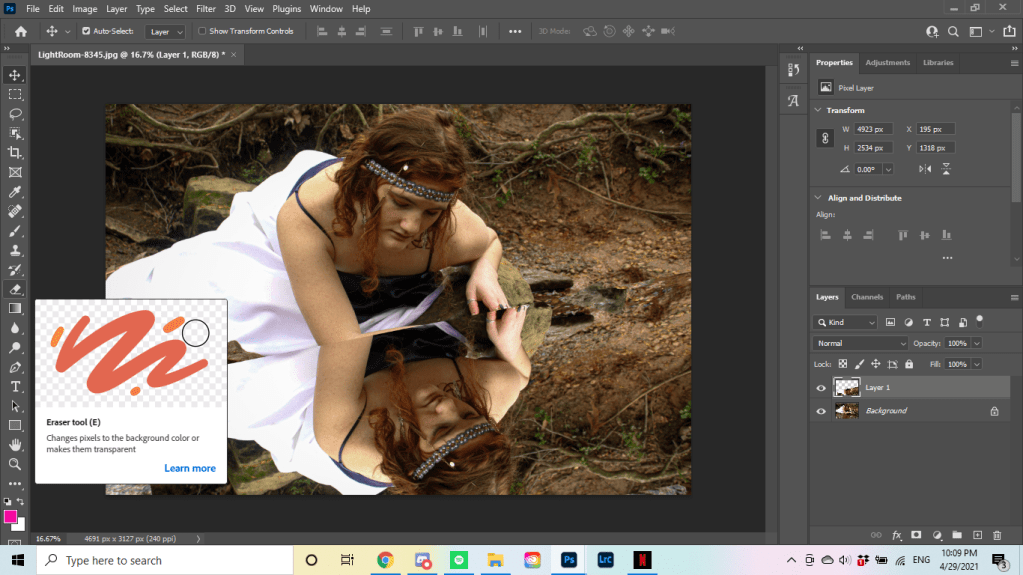
This next step can be done later, but I find it’s a lot easier to do it now. Use the “Eraser” tool on the left hand side tool bar to erase any part of the layer that you don’t want in the reflection. Doing this now will make your final edits easier, as well as allow you to focus on how the actual reflection looks. If your reflection includes the entire selection you made, this step can be skipped.
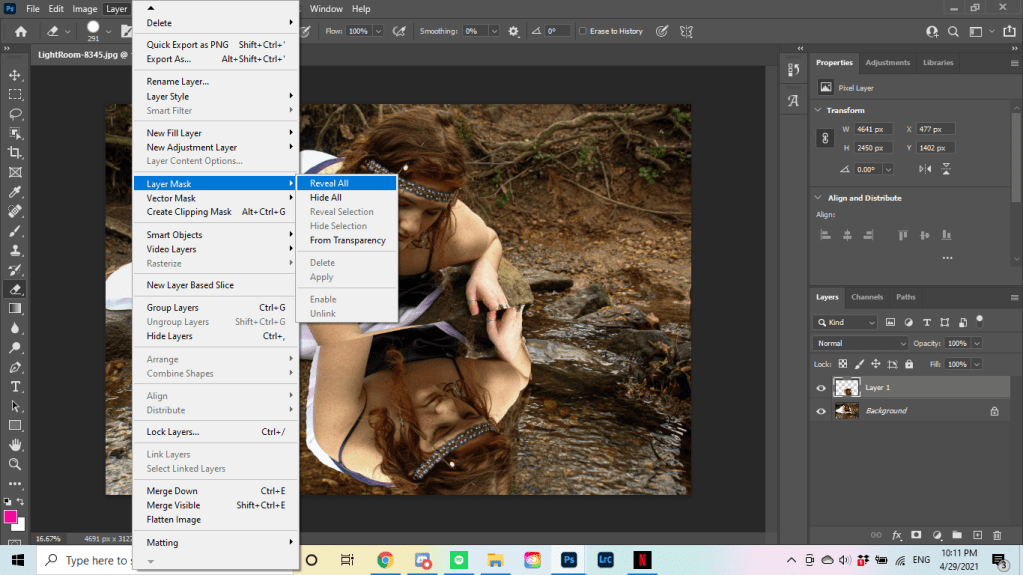
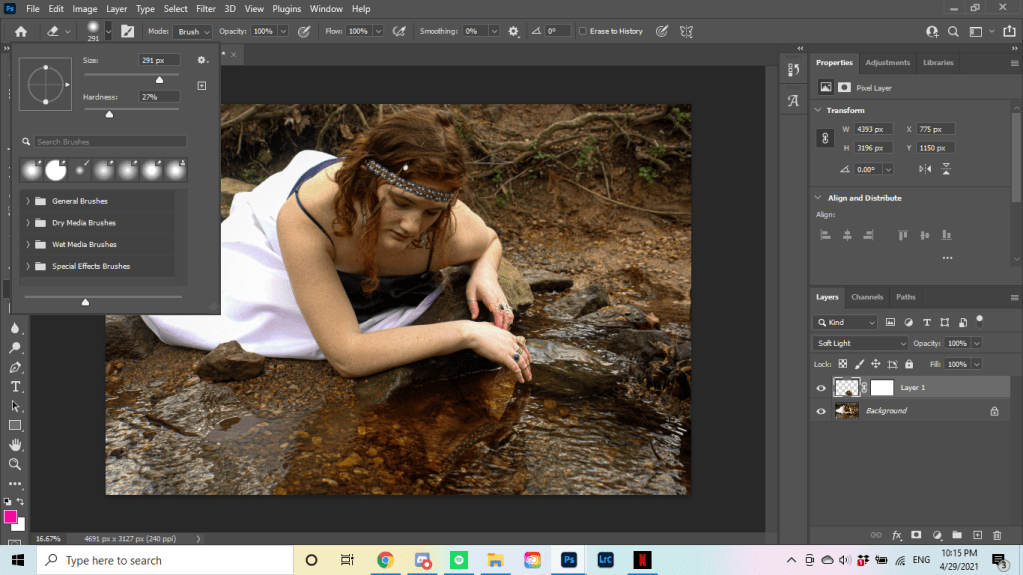
Now that we’ve done all the prep work, we can get into the good stuff. In the top tool bar, select Layer > Layer Mask > Reveal All. This will add a layer mask option to your Layer 1. It will appear as a separate box in your Layers section next to the actual Layer. After you do this, make sure you select the second box to add an actual mask, rather than editing the layer. You can tell when the correct box is highlighted because it will have four white corners bordering the layer mask that you selected.
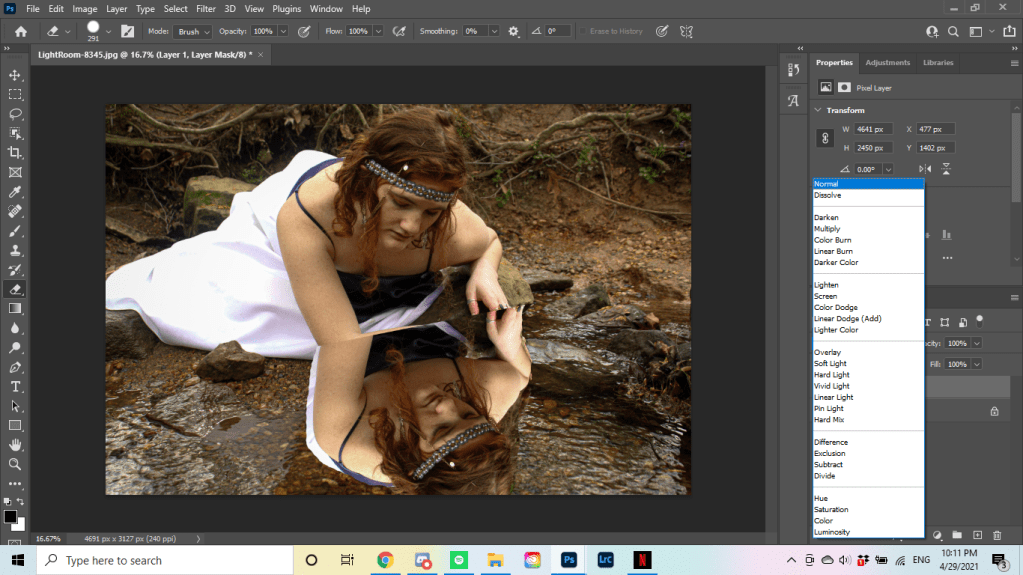
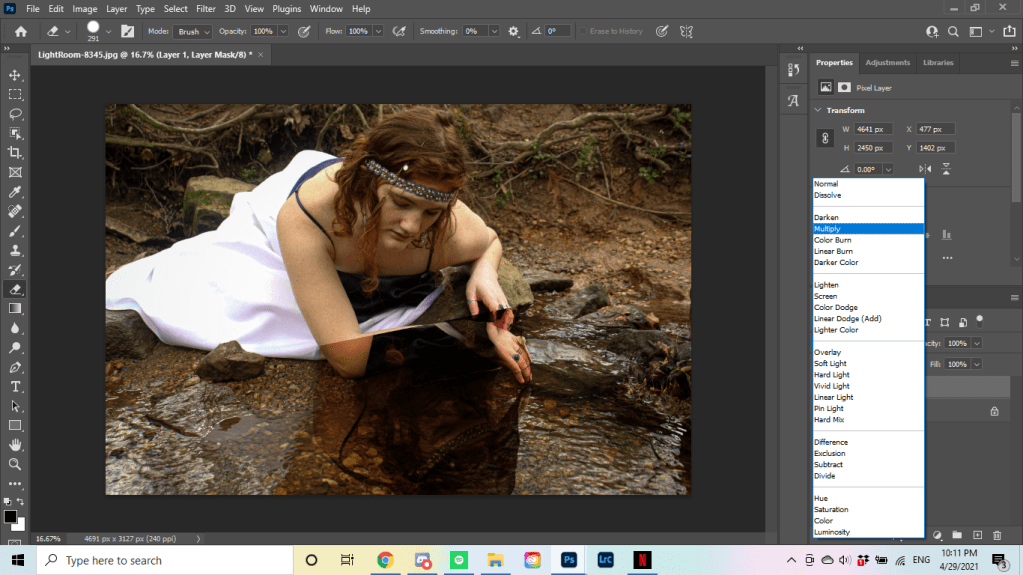
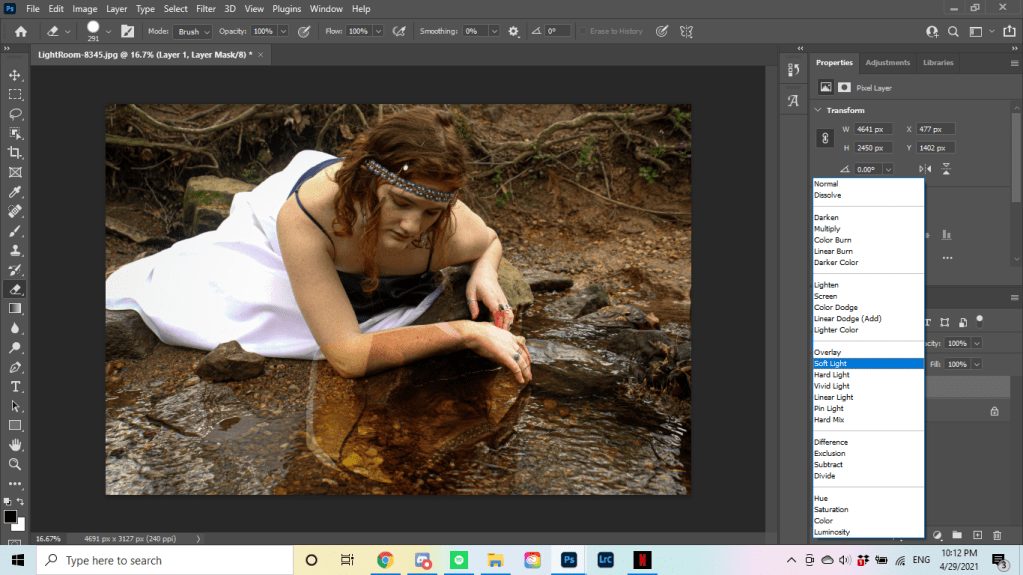
In the Layers section, there will be a drop-down menu that says “Normal”. If you click on that, you will have a whole list of options to create a layer mask. Hover over each option to see how it affects your reflection. Depending on the scene, lighting, and other photograph features, some will work better than others. I ended up going with “Soft Light”, which is shown in the third picture below.
Now that your layer mask is done, make sure to reselect the first box in Layer 1. Now is your time to clean up lines with the Eraser tool. I also like to at this point soften the eraser, which gives a more diffused erased look that’s much more subtle. You can do this by selecting the small drop down arrow near the top left next to the size of your eraser. I would suggest lowering “Hardness” to 20-30%, but depending on your image and your comfort level you might prefer something else. Ctrl+Z (undo) will be your best friend during this step.
This is where I stopped the first time I edited this photo. In most cases, you won’t have anything else to do, and you can end here. However, my original photo had an existing reflection of a hand in the water where I added the face reflection. In order for the anatomy of the reflection to make sense, I had to get rid of the reflected hand. This is a very easy thing to do, so if you have a similar problem, don’t worry.
The first thing I did was click on the eye icon next to Layer 1. This will make it so only the Background layer is visible, which is what I want so that I don’t get distracted by my added reflection. You will also likely need to “unlock” your Background layer so you can edit it. This can be done by double clicking on the lock, which will automatically rename your Background layer to “Layer 0”.
I chose the “Spot Healing Brush” tool on the left hand tool bar. The icon looks like a Band-Aid. This tool can be really helpful for skin blemishes, items in the background you want taken out, or manipulating a part of the photograph like I did. I simply brushed it over the section of water the hand’s reflection appeared in, and repeated until the water looked natural.

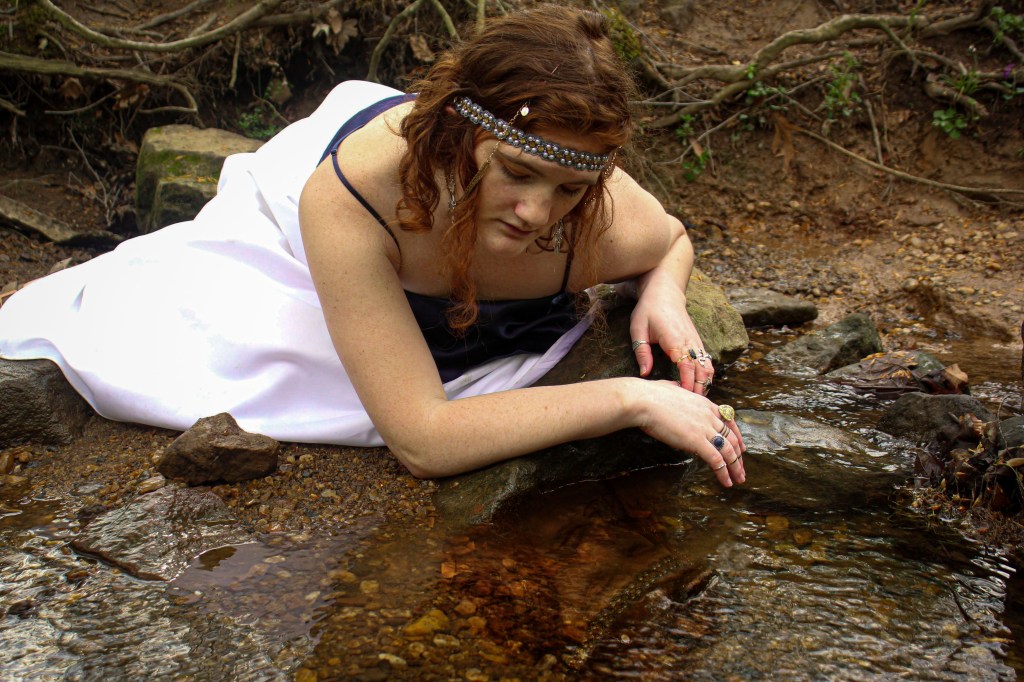
Then, you can turn your Layer 1 back to visible, and make any final adjustments you might need. Here’s how my final image turned out:
I hope this was helpful, or at the very least interesting to see my process. As I continue to learn more about Adobe’s programs and the cool things you can do to enhance your photography, I’ll be sure to share. Feel free to ask any questions below, or suggest something else I should look into for a future blog post.
Until next time!
